Blending into the crowd at a Quebec trade show isn’t a budget fate, but a strategic error.
- Visibility isn’t bought by the square foot; it’s conquered from above with smart suspended signage.
- Viral engagement is created by transforming your booth into an “Instagrammable” photo experience that celebrates Quebec’s cultural capital.
Recommendation: Stop thinking in terms of expenses and start acting in terms of print guerrilla warfare: every printed element must be a conversion weapon, not a mere decoration.
Imagine the scene. You are at the Quebec Industrial Trade Show (Salon industriel de Québec). The air vibrates with opportunities, but your booth—that of your SME—seems tiny, crushed by the glowing cathedrals of multinationals occupying the main aisle. Your budget is a hundred times smaller. The instinctive reaction is to resign yourself, to think that visibility is directly proportional to the size of the checkbook. You’ve always been told you need more screens, larger structures, more expensive swag. What if that were false? What if the battle for attention wasn’t won with brute force, but with tactical intelligence?
The key isn’t to spend more, but to spend better. You must abandon the mindset of direct confrontation and adopt that of guerrilla marketing. Your weapon isn’t the budget, but creativity applied to your printed materials. It’s about transforming every banner, every roll-up, every product sheet into a strategic tool designed to hijack the visitors’ field of vision and leave a mark on their minds. The goal is to create asymmetric visual dominance: while your competitors occupy the floor space, you will conquer the aerial space, the emotional space, and the prospect’s decision-making space.
This article is not a list of generic tips. It is a combat manual for the SME marketing director who wants not only to survive but to dominate their next trade show. We will break down the tactics that allow you to catch the eye from across the hall, transform your booth into a viral content machine, and equip your sales team with tools that don’t just present a product, but close a sale.
Table of Contents: Guerrilla Strategies for Maximum Visibility at Trade Shows
- Why hanging your logo from the ceiling attracts visitors from the hall entrance?
- How to use large format to create an “Instagrammable” photo environment?
- Economic vs. Premium Roll-up: Which stays upright without leaning after 2 days?
- The error of placing your slogan at the bottom of the panel, hidden by tables and people
- When to prepare pre-printed return labels to avoid panicking at the show’s closing?
- How to manage print logistics for a convention gathering 500 delegates in Quebec City?
- How to choose a portable exhibition booth that fits in a car and sets up in 15 minutes?
- How to equip your sales team with printed tools that close sales?
Why hanging your logo from the ceiling attracts visitors from the hall entrance?
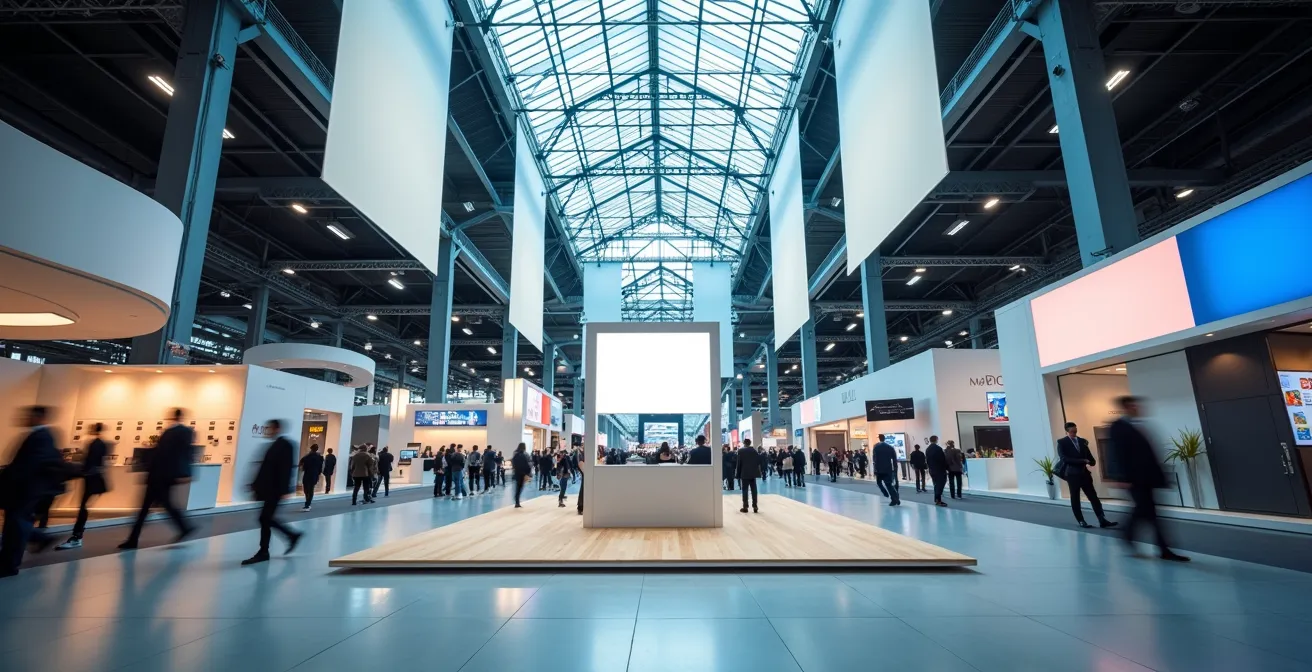
In the visual jungle of a trade show, the floor is a saturated battlefield. The first mistake an SME makes is trying to compete on this ground. The real opportunity lies above, in the untapped aerial space. This is the principle of vertical dominance. A logo or a suspended banner is not a simple decorative element; it is a lighthouse. As soon as a visitor enters the Palais des congrès de Montréal or the Centre des congrès de Québec, their gaze sweeps the horizon to orient themselves. A suspended structure catches this first glance and registers your brand in their mental map before they even reach your aisle. This is a huge psychological advantage, especially knowing that, according to an analysis by the Salon Industriel du Centre-du-Québec, 78.38% of visitors have a direct influence on purchasing decisions. Attracting their attention first is therefore critical.
This visual guerrilla strategy allows you to compete with booths ten times larger. While they monopolize the square footage, you capture the eyeballs. For this to work, design is key. It’s not just about hanging a sign. You have to think in terms of a three-dimensional structure, playing with heights and angles to create depth. A well-lit banner becomes an unavoidable landmark. It ensures that even a hurried visitor will know exactly where to find you.
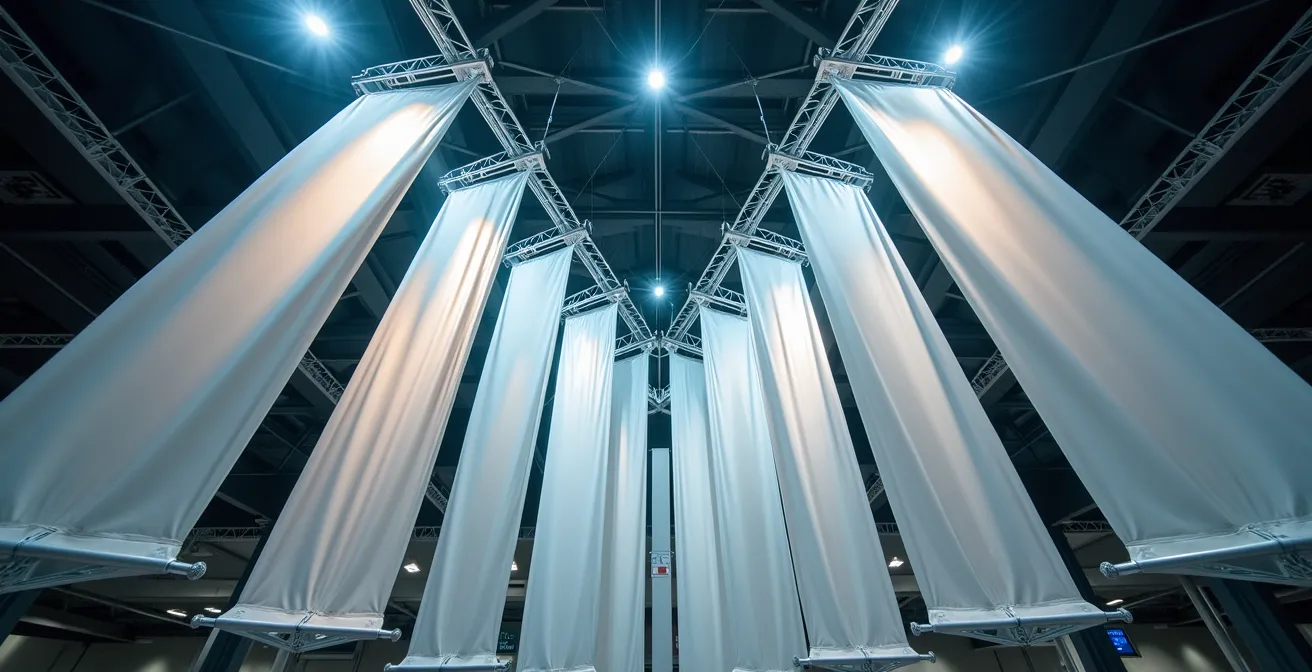
Implementation, however, requires rigorous planning. Every exhibition center has its own rules and anchor points. It is crucial to contact technical services at least three months in advance. Furthermore, any structure must comply with CAN/ULC-S109 fire safety standards, a non-negotiable obligation in Canada. Good positioning places your main logo between 2.10 and 3.50 meters high, ensuring perfect visibility even over the densest crowd. Also, consider directional lighting: a well-designed structure but poorly lit disappears into the shadows of the ceiling.
How to use large format to create an “Instagrammable” photo environment?
Once you have attracted the visitor with your suspended lighthouse, the second phase of the guerrilla warfare begins: close quarters combat. The goal is no longer just to be seen, but to create a memorable experience that encourages sharing. Today, a booth that isn’t “Instagrammable” is a booth that doesn’t exist outside the walls of the show. Large format printing is no longer a simple background, but the stage for interaction. For a Quebec SME, the most powerful weapon is local cultural capital. Instead of a sterile corporate visual, create a photo wall that resonates with Quebec identity: a typical expression, a stylized landscape of the Saguenay Fjord, or a humorous nod to a local cultural reference.
This approach transforms your booth from a commercial space into a destination. Visitors no longer come just for a brochure; they come to create a memory. Every photo shared on Instagram or LinkedIn with your hashtag becomes free and authentic advertising, far more powerful than a paid ad. The key is to provide not just the backdrop, but also the props: a tuque, a fake arrow sash (ceinture fléchée), or a sign with a funny expression. The cost is marginal, but the impact on engagement is huge.
The following table compares different strategies for making a booth interactive, highlighting relevance and estimated cost for an SME in Quebec. It is clear that the Quebec-themed photo wall offers the best emotional return on investment.
| Strategy | Estimated Cost (CAD) | Engagement Impact | Ease of Installation |
|---|---|---|---|
| Quebec-themed photo wall | 800 – 1500 | Very High | Medium |
| Interactive zone with props | 500 – 1000 | High | Easy |
| Reusable modular decor | 1200 – 2500 | Medium | Complex |
| Comfortable lounge space | 1500 – 3000 | High | Medium |
Case Study: Quebec Authenticity as a Viral Weapon
The example of Pepsi in Quebec perfectly illustrates this power. By adapting its communication with humor and references deeply rooted in local culture, the brand created an unparalleled emotional connection. This authenticity strategy led to viral engagement and allowed Pepsi to double its market share against its main competitor in 2009. For an SME, the lesson is clear: speaking the cultural language of your visitors is the most effective form of marketing there is.
Roll-up économique vs premium : lequel tient droit sans pencher après 2 jours ?
The roll-up is the foot soldier of your guerrilla army. It is mobile, versatile, and relatively inexpensive. But therein lies the trap. Opting for the cheapest model is one of the most costly mistakes an SME can make. An economic roll-up that leans miserably after 48 hours, whose canvas ripples, or whose mechanism jams, projects only one image: amateurism. Your message, no matter how impactful, is instantly discredited by poor quality support. It’s the equivalent of a salesman showing up in a wrinkled suit and dirty shoes.
The difference between an economic model and a premium model is not measured in dollars at purchase, but in cost per use and impact on your brand image. A premium roll-up, with a heavy base (minimum 2 kg), anti-reflective 440g/m² canvas, and a smooth winding mechanism, may cost two to three times more, but it will last 8 to 12 shows instead of 1 or 2. The math is simple: its cost per event becomes lower than the low-end model that will need constant replacement. Furthermore, it guarantees an impeccable presentation from the beginning to the end of the show, even in high-traffic aisles.
Before any purchase, a rigorous inspection is necessary. Don’t just rely on the technical sheet; ask to handle the product. A guerrilla strategist inspects their equipment before battle. Here are the crucial points to check to ensure your investment works for you, not against you.
Your checklist for a roll-up that commands respect
- Base weight: Demand a minimum of 2 kg. Lift it. Lightweight economic models (less than 1.5 kg) are unstable and tip over at the slightest draft.
- Winding mechanism: Fully unroll and roll the canvas. The movement should be smooth and without jerks. A mechanism that catches is a sign of weakness.
- Canvas quality: Ask for an anti-reflective canvas of at least 440g/m². A thinner canvas will ripple and create distracting reflections under show spotlights.
- Stabilizing feet: Ensure they are present and, ideally, adjustable. They are essential for compensating for the often uneven floors of exhibition centers.
- Upper fastening system: Inspect the bar that holds the canvas at the top. Prefer robust metal clips over plastic fasteners that break easily.
The error of placing your slogan at the bottom of the panel, hidden by tables and people
This is a design error so common it is tragic. You’ve spent weeks refining a punchy slogan, a unique value proposition. Then, on the final visual for your booth or roll-up, this crucial message is placed at the very bottom. On the day of the show, a display table, a stack of brochures, or worse, the first two people who stop in front of your booth are enough to make it disappear completely. Your most important message has become invisible.
In event marketing, you have to think in terms of the “human waterline.” In a crowded environment, everything below 1.20 meters is considered a visual “dead zone.” It is an area constantly obstructed by people, furniture, and the surrounding chaos. Placing your slogan, your website, or your main call to action in this zone is like whispering in a concert hall. No one will hear you.
The golden rule of print guerrilla warfare is simple: place critical information at eye level and above. The most valuable area of your display is located between 1.50 m and 2.20 m from the floor. This is where the gaze naturally falls. Your logo and slogan should occupy this prime spot. Secondary information, such as technical details or addresses, can be lower, but the main promise must hit the visitor right in their field of vision, clearly and instantly. A visitor only gives you three seconds of attention as they pass. If in three seconds they haven’t understood what you do and why it’s important to them, they are lost forever.
When to prepare pre-printed return labels to avoid panicking at the show’s closing?
The battle of a trade show does not end at the closing bell. It ends when your equipment is packed, labeled, and ready to be shipped without stress. This is often the exact moment when chaos sets in. The fatigue of three intense days, the pressure from transporters, the absence of adhesive tape or a simple pen… This is where professionals stand out from amateurs. The guerrilla strategist’s secret weapon for this final phase is disarmingly simple: pre-printed return labels.
Even before leaving for the show, you should have a “survival kit” pouch containing everything needed for the return. This includes not only the shipping labels from your carrier already filled out with your destination address but also clear content labels for each case (“Booth Structure,” “Banners and Roll-ups,” “Promotional Material”). Prepare several copies. This anticipation has a double effect. First, it eliminates the “last mile” panic. While your competitors are running around looking for a blank delivery note, your team is calmly packing, sticking labels, and can leave an hour before everyone else.
Second, it projects an image of absolute professionalism, even behind the scenes. Organizers and logisticians notice exhibitors who are organized. It may seem like a detail, but in the small world of trade shows, this reputation for reliability can open doors for future events, such as obtaining a better location. Preparing these labels is an investment in your peace of mind and your brand image, from the first to the last moment of the show.
How to manage print logistics for a convention gathering 500 delegates in Quebec City?
Organizing printing for a major event like a 500-person convention in Quebec City is not a simple order; it’s a military operation. The slightest mistake can have a catastrophic domino effect. Success relies on rigorous retroactive planning and seamless communication with your local printer. Forget the idea of printing in Montreal to deliver to Quebec City at the last minute; you expose yourself to unnecessary risks (traffic, weather). A local printing partner is your best ally.
Here is the logistical battle plan:
- D-90: Printer selection and validation of master files. This is the time to choose your partner in Quebec City, provide them with graphic standards and templates for all planned documents (delegate handbooks, badges, signage…). Get an initial color proof for validation.
- D-30: Finalization of content and sending final files. All texts and visuals must be validated and sent to the printer. This is the deadline. Request a final digital proof (PDF) of each document for a final spelling and layout check.
- D-7: Production and pre-assembly. Printing begins. Coordinate with the printer to pre-assemble “delegate kits” (handbook, program, swag in the bag). This is a monumental time-saver for you.
- D-2: Delivery and on-site verification. Have all materials delivered directly to the Convention Center, not your hotel. Plan a 2-hour window to unpack and check everything: count boxes, inspect quality, ensure nothing is missing.
A critical point is the management of name badges. The attendee list changes until the last second. Plan an agile system with the printer: print 90% of badges at D-3, and maintain production capacity for the last-minute 10%, with a special delivery on the morning of the event. This flexibility is the hallmark of successful print logistics.
How to choose a portable exhibition booth that fits in a car and sets up in 15 minutes?
For an SME, agility is a matter of survival. The idea of having to rent a van and spend half a day setting up a complex booth is a logistical and financial nightmare. The solution lies in new-generation portable exhibition booths. The goal is clear: a booth that has impact but can be transported in the trunk of a sedan and set up by one person in less time than it takes to drink a coffee.
Forget heavy modular structures (25-35 kg, 45 min setup). Two guerrilla options stand out:
- The tubular stand (or fabric pop-up wall). This is the champion of portability. It consists of an interlocking aluminum tube structure (like a tent) and a stretch fabric visual that slips on like a sock. The whole thing weighs between 8 and 15 kg, fits in a sports bag, and sets up in 10-15 minutes. The result is very professional, with no wrinkles, and the visual is interchangeable. It is the smartest investment for an SME participating in several shows a year.
- Combining multiple roll-ups. Another tactic is to use 3 or 4 premium roll-ups placed side by side to form an image wall. The advantage is modularity: you can use all 4 for a large show, or just one for a small event. The total weight is manageable (8-12 kg) and setup time is near zero. However, perfect alignment of visuals is harder to achieve and the overall impact is slightly less “premium” than a continuous fabric wall.
The ultimate decision criterion must be the impact/constraint ratio. The tubular stand offers the best ratio for an SME. Its initial cost (between $1200 and $2000) is higher than a simple roll-up, but its durability, ease of transport, and impeccable look make it a strategic asset that pays for itself very quickly in savings on time, transport, and stress.
Key Takeaways
- Vertical dominance: Exploit height with suspended banners to be visible from afar—an effective guerrilla tactic against larger competitors.
- Quebec cultural capital: Transform your booth into an “Instagrammable” experience by using local references to create emotional and viral engagement.
- Closing tools: Equip your sales team with battle cards and printed interactive tools that guide the conversation and turn a prospect into a client.
How to equip your sales team with printed tools that close sales?
The most beautiful booth in the world is useless if your sales team isn’t equipped to convert attention into intention. In guerrilla mode, every interaction must be optimized. Generic brochures that end up in the trash are a waste. You need printed closing tools: supports designed not to inform passively, but to engage the prospect actively and move them through the sales funnel.
The most powerful tool is the “battle card.” It is a double-sided A5 cardstock sheet that every salesperson has in hand. It structures the conversation and serves as a support for taking notes. Here is its ideal composition:
- Front: 3 key qualification questions (specific to the Quebec market), a 3-point elevator pitch, and space to note the prospect’s responses.
- Back: Answers to the 5 most frequent objections, the show’s special offer (e.g., “15% discount + free consultation”), and a field “For Mr./Ms…” to be filled in by hand to personalize the offer.
- Strategic QR Code: A code that doesn’t point to your homepage, but to an exclusive demo video or a post-show appointment booking page.
This tool transforms the salesperson into a consultant. Instead of reciting a speech, they ask questions, listen, and complete the card with the prospect. This co-creation creates a strong psychological engagement. In fact, companies that replace their brochures with interactive diagnostic tools (like checklists or qualification wheels) see an increase in their conversion rate of nearly 40%. The prospect doesn’t leave with a simple flyer, but with a personalized document that summarizes their problem and your solution.
Ultimately, visual and commercial dominance at a trade show is not a matter of budget, but of approach. By adopting a print guerrilla strategy, thinking of every piece of material as a tactical weapon, and equipping your teams to win every conversation, your SME can not only compete but truly shine. For your next show in Quebec City or Montreal, prepare your battle plan now.